Article: How to Cure a Mate Gourd: Your First Step in a Lifelong Ritual

How to Cure a Mate Gourd: Your First Step in a Lifelong Ritual
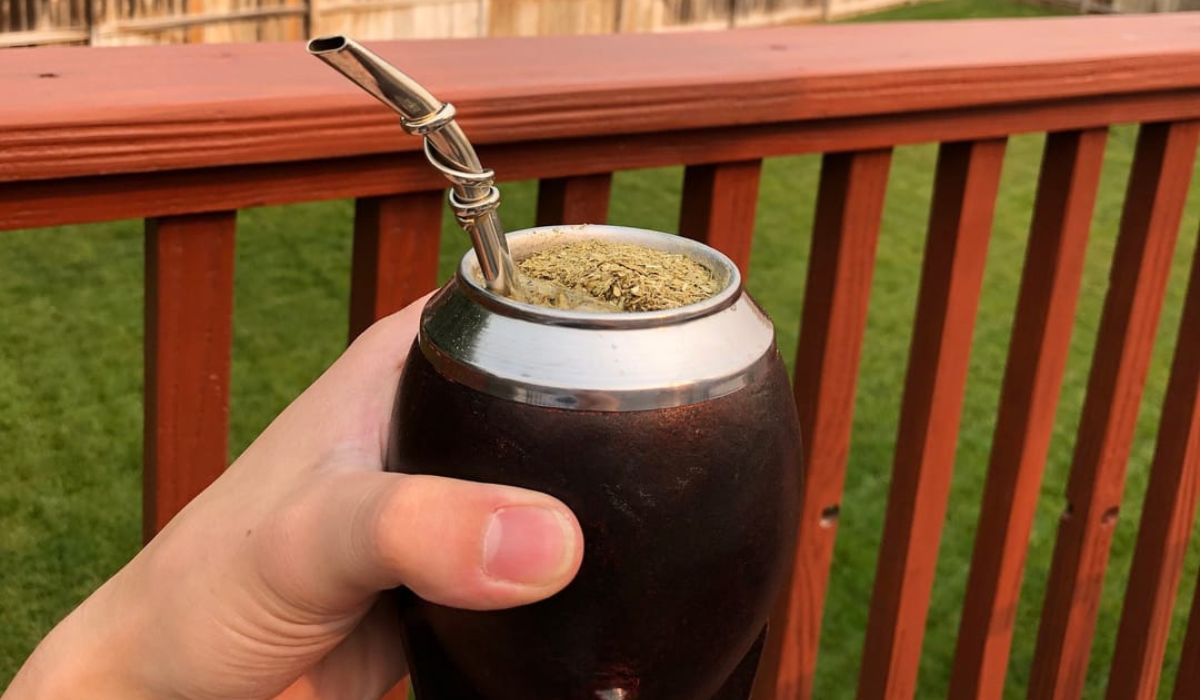
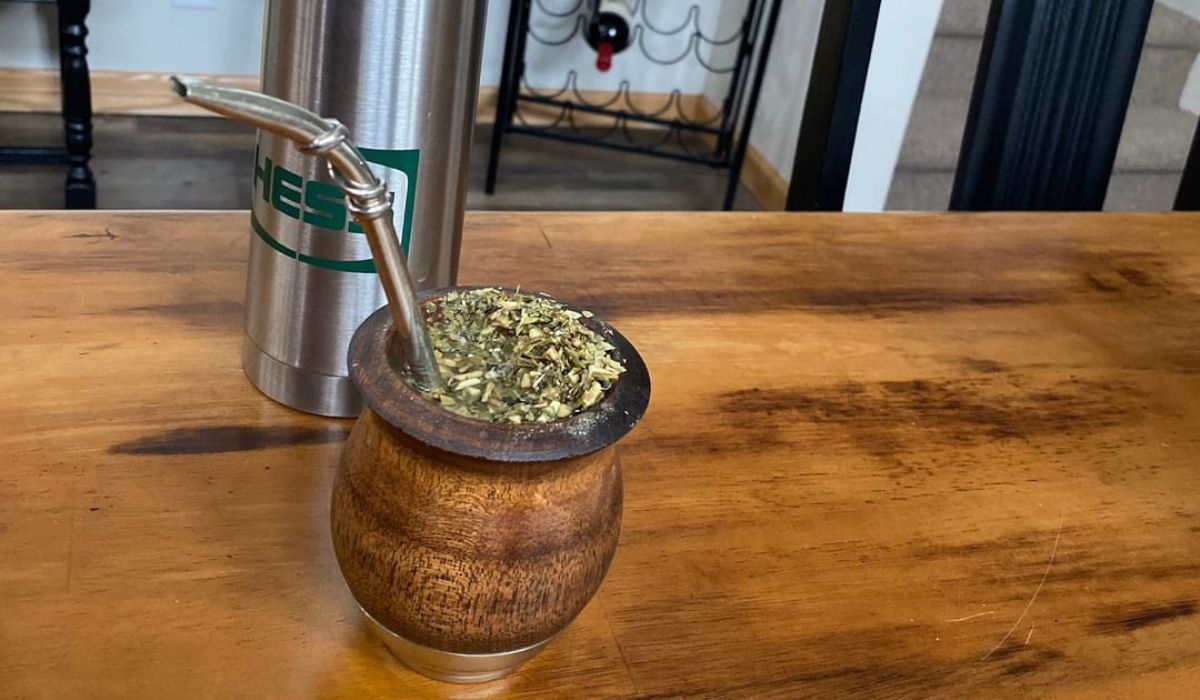
Yerba mate has gone from an exotic, unknown South American drink to an everyday staple that’s enjoyed in different ways, all around the world. Devoted drinkers may argue over whether mate should be taken dulce or amargo, which is the superior yerba type, and if shaping the perfect montañita actually changes the experience. Yet, on one point everyone agrees: authentic mate is best enjoyed from a gourd.
In this guide, we’ll walk you through how to cure a mate gourd to extend its lifespan, ensure flavor consistency, and connect with the heart of mate tradition, sip by sip. After all, when curing a mate, you're preparing not just a vessel, but a companion for countless future gatherings and moments of reflection.
Pro tip n°1→ Fancy an energy boost? Here’s our review of mate vs. matcha to help you choose the one that’s best for you (although you might already know the answer by now).
Why Curing Matters
To “cure” a mate gourd is to preserve it, and more than that, to prepare it for a lifetime of shared moments. Just as a cast-iron Argentinian grill must be seasoned before its first use, a calabash gourd also needs this ritual care.
When you’re curing a mate gourd, you make it ready for use. Doing it yourself is as much a part of the mate tradition as it is a means to ensure every gourd is tailored to its user’s preferences. Here’s what happens when you season a mate gourd, and why you have to do it:
-
Curing a yerba mate gourd “seals” porous walls, preventing leaks and structural damage. In other words, it lengthens the gourd’s lifespan.
-
Sealing the walls also reduces moisture retention, protecting against mold and bacteria.
-
When you cure a calabash gourd, you remove the remains of its hollejo (the internal membrane), which, if left, causes bitterness.
-
How do you cure a mate gourd? With yerba mate, used or new. This initiates the flavor development process, as it is the yerba tannins that season the mate.
The curation of a yerba mate gourd is actually a process that happens over time, but needs that first “shock treatment” to happen. Curing the gourd transforms it, same as oil transforms cast-iron: both at a physical and chemical level. Now that you know why to do it, let’s go over the “how to.”
Pro tip n°2→ Speaking of seasoning cast iron, here’s our guide on how to keep grill grates from rusting. Whether you’ve just picked up a new grill or want to prolong the life of the one you have, you’ll find practical tips worth saving.

How to Cure a Mate Gourd
Calabash gourds are living materials that must be treated with care before use, so they can serve you for years and offer a consistent, balanced flavor. Curing is the first step in that journey. If you’ve already looked online, you’ve likely seen countless techniques, but here we’ll share the traditional method we’ve used at Gaucho Life for as long as we can remember.
-
The first step is to rinse the interior with hot (not boiling) water. This will remove any dust and loose fibers the gourd may have.
-
Fill the gourd ¾ with yerba mate, used or new.
-
Pour some warm water (75–85°C / 165–185°F) into the gourd, fully moistening the yerba, without flooding.
-
Let it sit for 24 hours.
-
Discard the yerba and gently scrape the walls of the gourd with a spoon to remove the hollejo.
-
Rinse with warm water and repeat steps 2-5 two or three times.
-
Once cycle n° 3 or 4 is completed, air-dry with the gourd upright or sideways in a ventilated area.
That’s it. Simple, patient, and time-honored. The hardest part is waiting while the process unfolds… but that patience is also what connects you to a tradition that has been alive for centuries. Each cured gourd carries with it the beginning of a story: one that will continue with every refill and every shared sip.
Pro tip n°3→ Those dark or green stains that cover your gourd after or during the curing process? They mean that the yerba tannins are binding with the gourd, properly curing it. Actual mould will look white and fluffy (quite the opposite!).
Used Yerba or New?
Some mate purists (especially those who grew up with the ritual) will tell you that a gourd should only be cured with used yerba. For newcomers, though, this advice can feel a little intimidating. After all, what if you don’t have a yerba container of spent leaves sitting around?
But it’s time to break the myth. The truth is, you can cure a mate gourd with either used or new yerba, and both methods are equally valid. Here’s how they compare:
-
Used yerba mate is the sustainable, budget-friendly, traditional choice. It avoids wasting fresh product and begins to “season” the gourd with the same flavor profile you already enjoy.
-
New yerba mate has stronger tannins and a bolder character. This speeds up the curing process (a big plus) but does require dedicating fresh yerba solely for curing. And unfortunately, no, you can’t drink it afterward.
So which should you choose? If you’re short on time or don’t have spent leaves on hand, go ahead and use new yerba. But if you’ve got leftovers from your daily mate, curing with them will gently infuse your gourd with familiar flavors, enriching every sip that follows.
Curing a Gourd for Sweet Mate
Among mate drinkers, the great divide isn’t between using a mate wooden cup or a calabash gourd: it’s between drinking it amargo (bitter) or dulce (sweet). And for good reason: once a gourd has been cured for sweet mate, it will retain that profile.
If your preference is for sweetened mate, curing your gourd specifically for dulce will give you a cleaner, more rounded flavor that only improves over time. Here’s the traditional method:
-
Rinse your mate gourd with warm water and pat dry.
-
Add 1-2 teaspoons of sugar, cover the opening with your hand, and shake to coat the interior walls.
-
Light your gaucho grill or an iron brazier. With tongs, carefully place two small embers into the gourd.
-
Cover the opening with a cloth and gently shake until the coals go out. This will caramelize the sugar and infuse the gourd with a sweet base.
-
Remove the coals. Let the mate rest and cool.
-
Follow with the traditional curing cycle (24-hour yerba + water cycle).
Curing a gourd for sweet use is a little more delicate than preparing one for amargo. The key is to handle embers with care and protect the leather exterior from direct heat or sugar. Done properly, your gourd will develop a subtle sweetness at its core, making every dulce mate smoother, richer, and unmistakably yours.
Caring for Your Gourd Long-Term
Once you’ve found the best mate cup, you’ll want it to stay with you for years to come. Curing is the first step toward longevity, but it isn’t the whole story. Like any artisan piece, a gourd thrives with regular care and mindful handling.
Some best practices for keeping your mate gourd in perfect conditions include:
-
Discarding the yerba immediately after every use. Leaving it overnight invites mold and weakens the gourd’s walls with excess moisture.
-
After discarding the yerba mate, rinse the gourd with lukewarm water (no soap is required) and pat dry.
-
When you rinse the gourd, avoid wetting any leather wrapping, as water can damage or stain it.
-
Store the gourd upright or sideways in a dry, ventilated space, so the interior can fully air out..
-
Clean the bombilla (yerba mate drinking straw) after every use to discard yerba leaves. Monthly, soak it in water with baking soda and use a dedicated cleaning brush to remove sediment buildup.
-
Transport your mate on a matera bag, the traditional way to carry your gourd, bombilla, and yerba, all safely stored together and ready to go.
Pro tip n°4→ Take your mate experience to the next level with a leather Argentinian mate kit. Where to find the perfect one? At Gaucho Life

FAQs
Still curious about how to cure a mate gourd? Here are the answers to some of the most common questions we hear. If yours isn’t listed, feel free to reach out. We’re always happy to help!
What is hollejo, and why should I remove it?
The hollejo is the inner membrane of a calabash gourd. After the calabash is emptied, there may be some remains of it left. As the hollejo has a bitter taste, removing it is key to improving flavor and preventing unwanted tastes.
How do I know if my gourd is cured properly?
You can know if your mate gourd is properly cured by looking at its color and texture. When the inner wall is darker, smoother, and free of pulp, the gourd is ready. Also, the mate should taste clean.
Is dark staining inside the gourd dangerous?
It is normal for dark green spots to appear inside the gourd after curing due to the absorption of the yerba mate. They indicate that the gourd has absorbed the yerba mate properly. Mate mold is white and fluffy.
Can I cure a wooden mate cup this way?
Not exactly. While the 24-hour yerba cycle is a staple when curing a mate gourd or cup, wooden mate cups require a different approach. Here’s our guide on how to cure a wooden mate cup.
What if I see mold inside?
If your yerba mate cup has mold, do as follows:
-
Scrape the surface, gently.
-
Rinse with warm water.
-
Leave the gourd in the sun to dry.
-
Wipe the interior with alcohol to disinfect.
Your Journey into the Mate Road
Curing a mate grill is steeping into a timeless ritual of shared moments, reflection, and, of course, great taste. With each rinse, each cycle of yerba and water, your gourd absorbs flavor, memory, and ritual, becoming a companion that is uniquely yours.
Because that’s the beauty of mate. Whether around a Santa María grill with friends, alone at your desk through late-night study sessions, or sharing quietly with someone special in a park, every sip builds a bridge.
Now that you know how to cure a mate gourd, you’ve taken your first step into the mate journey. The road is long, but with the right gear, it becomes all the more rewarding. Explore our collection of artisan mate gourds, bombillas, and complete mate sets, each piece crafted to honor heritage while enriching your daily practice.
Because at Gaucho Life, we know that mate is more than just a drink. It’s a lifestyle.


1 comment
Qualità perfetta, ordinato fino in Svizzera senza alcun problema, davvero ottimo!
Grazie
Alex Akai
Leave a comment
This site is protected by hCaptcha and the hCaptcha Privacy Policy and Terms of Service apply.