

How to Cook Ribs on a Santa Maria Grill
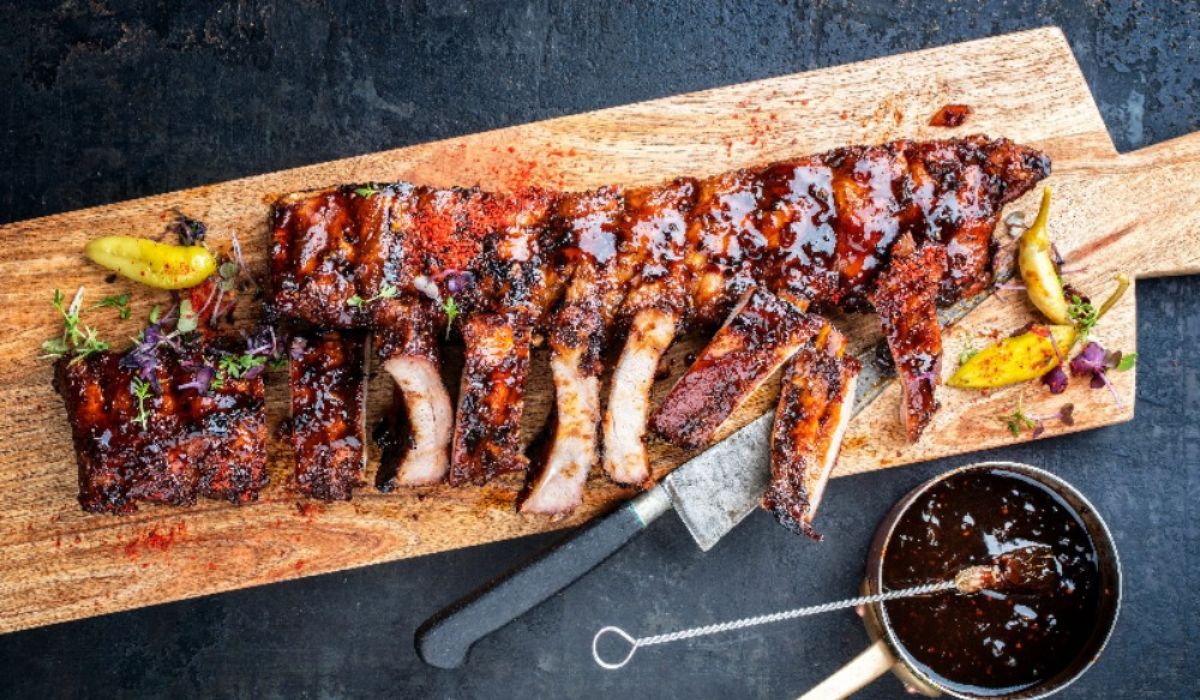
Cooked until the bone pulls back and the meat falls apart, fire-kissed ribs are a staple of American backyard cuisine. This cut lets you go beyond basic BBQ, creating a one-of-a-kind bite whether you use a bold rub or just a touch of salt. The secret? Live fire… and the right grilling technique.
Cooking ribs on a Santa Maria grill can be as challenging as it is rewarding. The open flame adds a smoky edge, and when cooked “naked,” it produces a crisp bark that balances tenderness with texture.
But let’s get to the point. Want to know how to grill ribs on a Santa Maria grill? Let’s break it down, step by step.
Pro Tip n° 1→ Fancy an even smokier approach? Discover the key differences in our guide on smoker vs Santa Maria grill, Gaucho Life’s style.
A Living Tradition: The Santa Maria Legacy
What is it that makes Santa Maria grills a game-changer in every Argentinian asado or American BBQ, especially for ribs? It’s more than just tradition, though that heritage runs deep in California’s Central Coast, where ranchers gathered around oak fires to share hearty meals.
For us, what sets Santa Maria cooking apart comes down to three points:
-
Live-fire cooking over wood embers, ideally, read oak logs. This produces a fragrant smoke that goes into the ribs, delivering a more complex flavor profile.
-
Adjustable grates. Perfect for both newcomers and seasoned pitmasters. Raise the grate to lower the heat or arrange the embers. Lower it for searing.
-
Simple seasoning. Typical Santa Maria rubs mix herbs, garlic, and a bit of spice. Flavorful enough to highlight the meat and smoke, without hiding it.
This style bridges the gap between quick grilling and slow BBQ, making it perfect for both pork and beef ribs. That’s why at Gaucho Life, our Santa Maria grills are designed to offer precise fire management and the hands-on experience of live-fire cooking.
Curious about how we achieved it? Jump to the next section. If not, skip it and dive directly into the steps for cooking ribs to perfection on your Santa Maria grill.
Santa Maria vs. Argentine Grills: What’s Best for Ribs?
While not specifically designed for ribs, both Santa Maria and Argentinian grills have features that shine when it comes to improving the grilling experience (and results) overall:
-
Santa Maria grills’ adjustable grate system allows for slow, low-temperature cooking, and high-heat sears, key to a perfect combination of tender and crisp.
-
Argentinian grills feature V-shaped grates to channel fat and minimize flare-ups, making them ideal for fatty cuts such as ribs. Their side braseros allow for constant coal generation for long grilling sessions.
Wondering which one is the best for grilling ribs? We did it too, and the truth is, there’s no single winner. The sweet spot? A hybrid approach combining V-shaped grates with a manual crank to lift or lower them as needed: the Argentine Santa Maria grill.
Pro Tip n° 2→ Ready for the ultimate live-fire challenge? Try an Argentinian iron cross for cooking ribs, lamb, or goat over open flames.
The Science of Perfect Ribs
The golden rule for grilling ribs on a Santa Maria grill is patience.
Why? Because ribs are packed with collagen and fat. Cooked too fast, collagen stays tough, and the meat turns chewy. But given time over indirect heat, collagen breaks down into silky gelatin, while fat slowly melts, keeping the meat moist and tender.
That’s why ribs aren’t a quick weeknight dinner: they’re a weekend event. Here’s how we grill them at Gaucho Life.

Ready? Set?
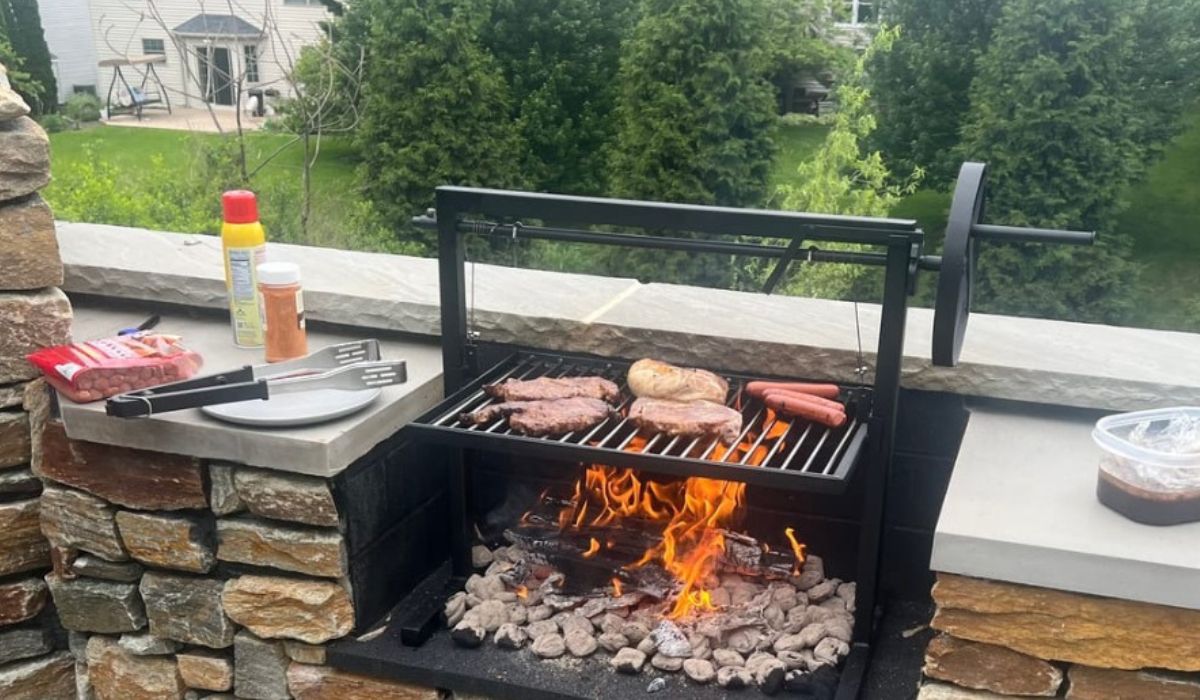
Ribs are a thick, bone-in cut, which means they need to warm up before hitting the fire. Take them out of the fridge about 30 minutes ahead so they come closer to room temperature. While you wait, get your grill and fire ready:
-
Build your fire. Red oak logs are the gold standard for that authentic Santa Maria flavor. Hickory, applewood, mesquite (sparingly), or hardwood charcoal also work.
-
Bank the coals. Once your fire burns down to embers, push them around the perimeter of the pit, leaving the center open for indirect cooking.
-
If your grill doesn’t have an Argentine iron brazier for constant coal generation, leave space in your firebox to feed in fresh wood or charcoal.
-
Preheat. Let the grill heat up for about 10 minutes before adding the meat.
-
To prepare the meat, remove the silverskin from the back of the rack. This will prevent it from becoming chewy.
-
Lightly coat the ribs with a classic Santa Maria dry rub (salt, pepper, garlic powder). Let it rest for about 20 minutes.
Pro Tip n° 3→ Not sure how much meat you need? Check out our guide on how to calculate meat for an asado and find out.
Time to Grill!
To check the heat, hold your hand 2 inches above the grate. If you can last ~12 seconds, you’re in the sweet spot. Too hot? Raise the grate. Too cool? Add or rearrange embers. When the temperature is right, proceed:
-
Start bone side down. Place ribs over indirect heat. Cover with a hotel pan or foil tent to trap heat and speed cooking.
-
For extra flavor, toss a smoking log (already burning) under the ribs for about 20 minutes. Relight and repeat if you want more smoke.
-
Cook low and slow. Let ribs go bone-side down for 2.5–3 hours. Beef ribs often need longer than pork to break down connective tissue.
-
Flip and finish. When the ribs hit ~200°F internal or the bones show a golden pull-back, flip them carefully.
-
Clear embers from underneath first to avoid flare-ups (here’s where Gaucho Life’s Santa Maria grills, with V-grates, may come in handy). Use two tongs to flip a full rack without tearing.
-
If you’re grilling a whole rib rack, grab it from the short ends, using two tongs to flip it comfortably and without losing juice.
-
Lower the grate or boost the coals until your hand lasts ~9 seconds above the fire. This gives you a crisp bark to finish.
Pro Tip n° 4→ To wrap or not to wrap? We’re fans of “naked” ribs (better bark, deeper smoke). But wrapping in foil or butcher paper does speed things up and tenderize more. Pick your style!
Keep reading: Discover how to choose the best charcoal grill for beginners - from grill types to fire-management techniques, all in one complete guide
Essential Gear, Gaucho Life’s Style
As we said before, the key elements for success when cooking ribs are fire, being patient, and the right grill. There’s no single criterion for choosing the best Santa Maria Grill for your backyard setup. However, if you’re planning to grill ribs on it, here’s what to look for:
-
Heavy-duty grill that can handle weight and long sessions (304 stainless steel or Iron).
-
Smooth crank system with a santa maria grill wheel: for seamless transitions between low-and-slow and high heat.
-
A side brasero or a wide firebox for steady coal management
-
V-shaped grates to control grease and avoid flare-upsl.
Accessories also make a difference, whether for perfecting your grilling technique or making the process smoother. Here’s our pick of must-have gear for cooking ribs on a Santa Maria grill:
-
Long, sturdy tongs for flipping racks.
-
A reliable meat thermometer.
-
If V-shaped grates aren’t available, a drip pan to prevent flare-ups.
-
A grill brush, for cleaning the grates and keeping them rust-free.
Pro Tip n° 6→ Not sure where to start? Browse through our Santa Maria grills collection and find the setup that fits your backyard.
Top Tips for Ribs on a Santa Maria Grill
Great ribs don’t happen overnight, and neither does live-fire mastery. But a few smart habits can level up your rib game fast:
-
Always begin with a clean, well-oiled grate. It keeps food safe, prevents sticking, and protects your grill.
-
Hardwood logs like red oak aren’t always easy to find, but they’re worth it for the authentic Santa Maria flavor. If not, mix in hickory, applewood, or good hardwood charcoal.
-
Gentle, steady heat is key. If the ribs are cooking too quickly, simply raise the grate. No crank system? Use a poker and shovel to move embers around.
-
Spritz ribs with apple cider vinegar every hour while cooking bone-side down. It adds moisture and a light tang.
-
Let ribs rest at least 20 minutes before cutting. This keeps juices inside the meat instead of running out on the board.
-
Cut across the rack, then split bone by bone. For the most tender bite, advise your guests to slice against the bone.
Pro Tip n° 7→ Serve the ribs with BBQ grilled vegetables and a zesty chimichurri. The acidity cuts through the richness and balances the smoke beautifully.

FAQs
Still curious about how to grill ribs on a Santa Maria grill? Here are answers to some of the most common questions we hear. If yours isn’t listed, feel free to reach out. We’re always happy to help!
How do you keep ribs from burning on a Santa Maria grill?
To keep ribs from burning on a Santa Maria grill, use indirect heat. Arrange your embers in a ring or set up two heat zones so the ribs cook gently. If things are running hot, raise the grate. Save direct heat for a quick sear at the end.
What’s the best wood for ribs on a Santa Maria grill?
The best wood for an authentic Santa Maria flare is red oak. This wood is typical of the Central Coast and offers a mild, sweet smoke that pairs well with beef ribs. You can also use hickory or applewood, but use mesquite sparingly for pork ribs, as its flavor can be too bold for most.
Should I wrap ribs in foil?
Depends on your style. Wrapping the ribs gives you fall-off-the-bone tenderness and softer bark. However, grilling the ribs “naked” creates a firmer crust and deeper smoke flavor. A third approach is wrapping for 1 hour, then finishing unwrapped.
Can you cook beef and pork ribs the same way?
While both beef and pork ribs require low-and-slow cooking, beef ribs are larger and tougher, so they require longer cooking times (1 extra hour, approximately) to break down connective tissue.
Heat, Iron, and Ribs: The Final Sear
Grilling on a Santa Maria allows you to carry on a California-rooted tradition while making it your own, by experimenting with heat, perfecting your technique, and savoring every smoky, fall-apart bite. All you need is live fire, patience, and the right setup to deliver the ribs every backyard pitmaster dreams of.
At Gaucho Life, we know the right grill takes your BBQ a long way. We specialize in crafting top-quality grills, designed to provide you with memorable experiences, bringing fire, meat, and flavor straight to your backyard. Explore our catalogue to discover the gear that will elevate your grilling game.
Because we know it’s more than just grilling. It’s a lifestyle.

Read more
The Hot Take: Smoker vs. Grill
Since the dawn of humanity, fire has been our lifeline. Sure, electricity has taken over most of our daily needs… but when it comes to cooking meat, nothing beats gear fueled by real flame. Yet eve...
Read more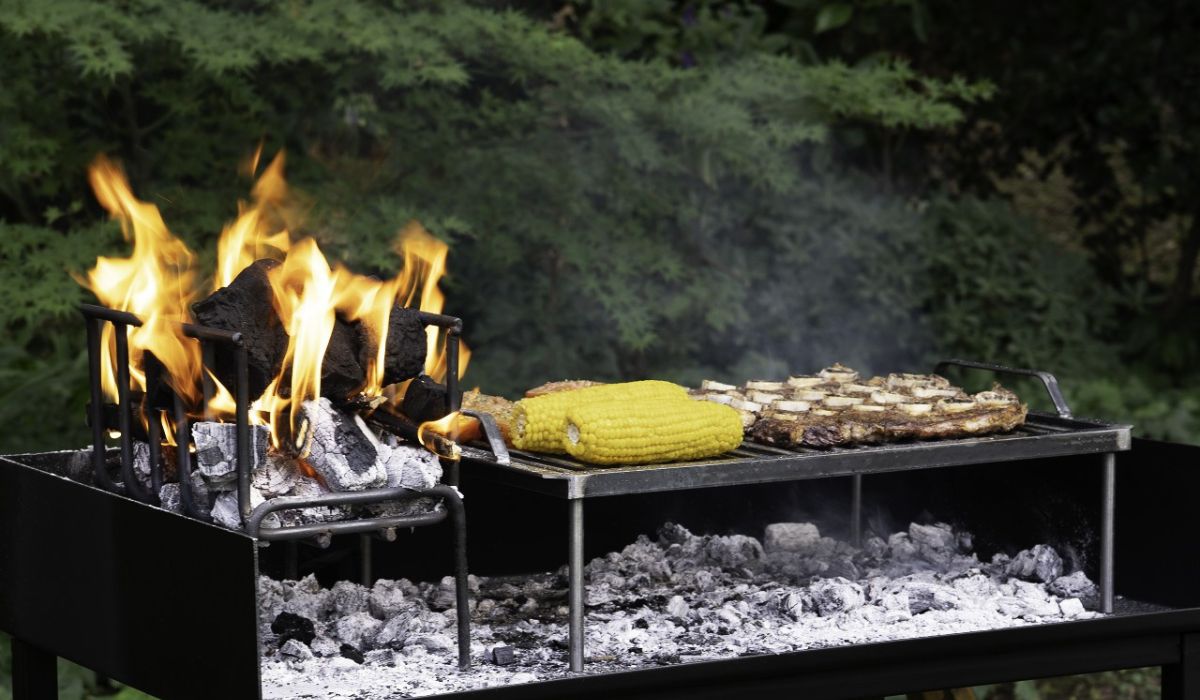
Charcoal Grills 101: Beginner’s Guide
Charcoal grilling delivers unbeatable flavor and the reward of tending a live fire hands-on. Briefly, it turns even a simple backyard cookout into something memorable, timeless. Getting it right co...
Read more
Leave a comment
This site is protected by hCaptcha and the hCaptcha Privacy Policy and Terms of Service apply.